
ESL picture drawing exercise
Age: 7 years and above
Set up time: 2-4 mins
Running time: 15-30 mins
Class materials: paper, coloured pencils

Lesson overview
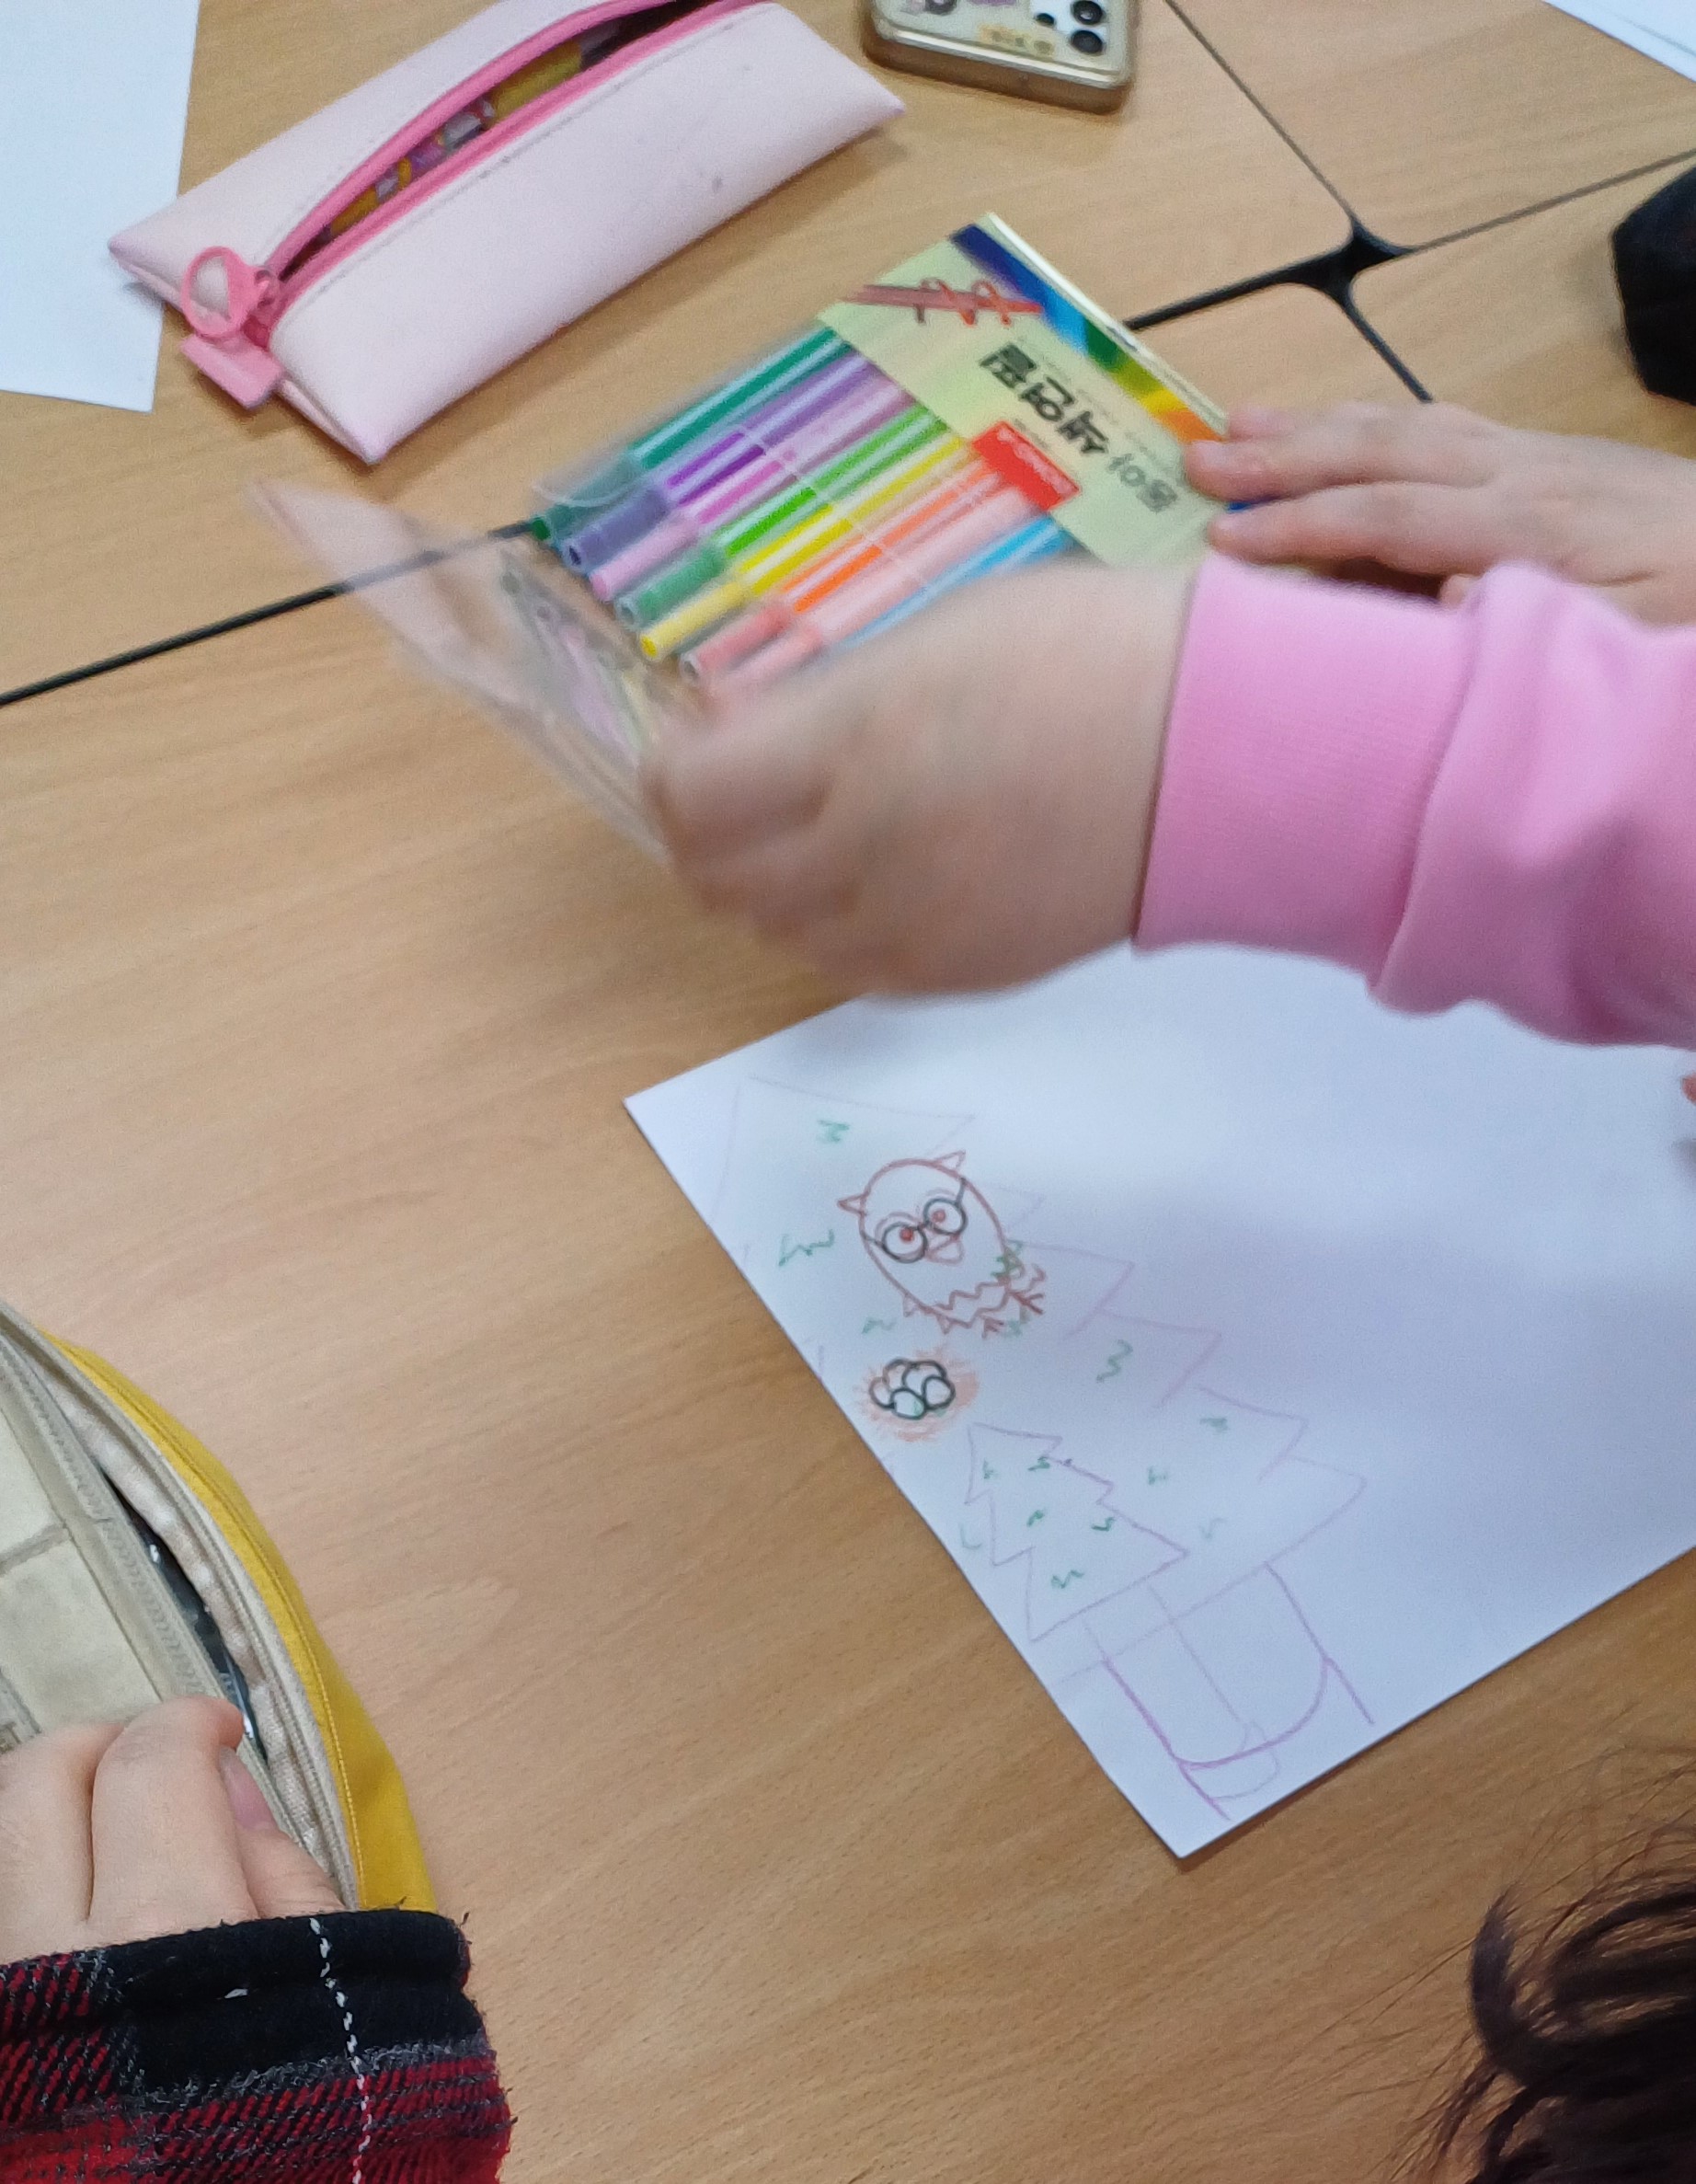
👩🏫This ESL picture drawing exercise helps develop students’ listening skills for detail. It helps introduce and practice adjectives, as well as previously learned prepositions of place. For the exercise, the teacher describes a scene, and the students have to sketch it out. However, rather than passively just listening and sketching, students are encouraged to provide input into the contents of the picture.
The Lesson plan
👩🏫To begin the exercise, students should have a blank sheet of paper and a pencil. They are first instructed to turn their paper so that it is in landscape format.
-The teacher begins by telling the students the scene they will sketch. This helps to stimulate any existing vocabulary knowledge they may have. One useful scene for this exercise is a park. The teacher starts by instructing the students to sketch a large object to work around. For example:
“Draw a tall tree on the left side of the picture.”
(As they draw, the teacher monitors to ensure all the students are listening to their description correctly.)
👩🏫Once the tree has been drawn, the teacher can link questions together with instructions so that the students can contribute to creating the picture. For example:
Teacher: “Something is in the tree. What do you think it is?”
Student: “A bird”
Teacher: “That’s right, and what kind of bird do you think it is?”
Student: “An owl.”
Teacher: “Ok …and it’s sitting on something…what do you think it is sitting on?”
Student: “A nest”
Teacher: “So I want you to sketch an owl sitting on a nest in the tree.”
-Further information can be added to the picture in an instruction or question-and-answer form. For example:
“Draw a bench in front of the tree.”
Or…
“There’s something in front of the tree. It’s long, and we can sit on it. What do you think it is?…and who is sitting on it?…and what is he wearing?…and what is he doing?
Here, the students not only listen to and sketch the teacher’s description of the picture, but also listen to other students who are calling out different details.
-Gradually, the whole scene is built up into a complete picture, and the students will have fun looking at how each other’s pictures turned out.
In a follow-up class, the teacher can review the picture and ask the students questions about what they remember. For example:
“Where was the bench?” and “Who was sitting on it?”
One more step
👩🏫Teachers can make the exercise more challenging by avoiding mention of the actual nouns and instead describing them in general terms. This allows the opportunity to introduce useful adjectives commonly attached to the noun. For example:
“Two fluffy white things are floating in the sky. They are next to a bright yellow thing….sketch them.”
“There is a very tall man. He is sitting on a long green thing…he is holding something cold, white, and delicious.. can you sketch him?”
This makes for an interesting feedback session, as students look at each other’s efforts to see if their pictures are the same. The teacher can then review the descriptions again, naming the nouns being described. If we take the park picture as an example:
Two fluffy white clouds.
A bright yellow sun.
A long green bench.
A delicious ice cream.
Other useful drawing scenes to try
A train station
A beach
A circus
A birthday party
A zoo
……………………………………………………………………………………………………………………………………………………………………………………………………………………………………………
For a wide range of fun exercises suitable for students of all ages and levels, I have a one-stop classroom activity book available…
………………………………………………………………………………………………………………………………………………………………………………………………………………………………………..
For a fun and challenging sketching exercise for higher-level or older students, click here.