
👩🏿🏫In an ESL classroom, it is essential to consider the seating layout. The ESL classroom should be an environment where the teacher can easily interact with the students and, when needed, the students can interact with each other. In some cases, the class layout is out of your control. The desks are bolted to the floor (tough school 😆) or the students are crammed into a classroom straight out of a Dickensian novel.
Many classes are laid out in a bank of desks, usually with a walking channel through the middle. This is ok during the instruction period of a lesson, but in a communicative classroom the teacher should give some time over to pair work and group work. They need to arrange the desks to facilitate easy positioning and transitions throughout the lesson.
Choosing the right seating arrangement can optimize student engagement in towards the lesson objective. Below are four standard classroom layouts…
1. Pair Work Layout

👩🏿🏫Great for speaking activities. Students sit in pairs facing each other, which is great for role-plays, dialogues, or just asking, “What did you have for breakfast?” fifty times until it sounds natural. As the teacher, you hover nearby like a friendly referee, jumping in when conversations stall or go off into ‘cat videos on YouTube’ territory. The beauty of this layout? Everyone gets a turn, no one hides at the back, and partner swaps are as easy as shouting, “Okay, rotate!”
I always use this layout for information swap lessons, as I describe in this lesson plan here.
2. Group Work Layout
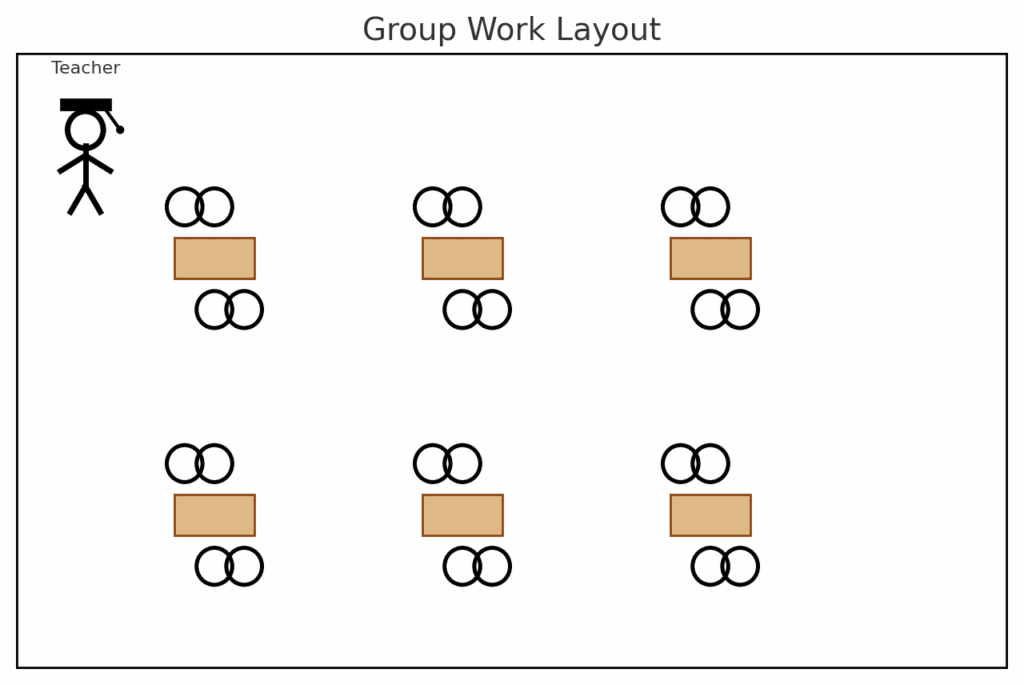
👩🏿🏫 In this layout, the students push their desks together and work as mini-teams. This is perfect for projects, quiz teams, or collective problem-solving. The teacher monitors, making sure each student has a chance to contribute and is not silently sitting it out. Yes, it can get a little noisy, but it’s the good kind of noise: laughter, brainstorming, and English actually happening.
I like to use this layout to give students the opportunity to get together and create quiz questions for the rest of the class.
3. U-Shape (Horse shoe) Layout
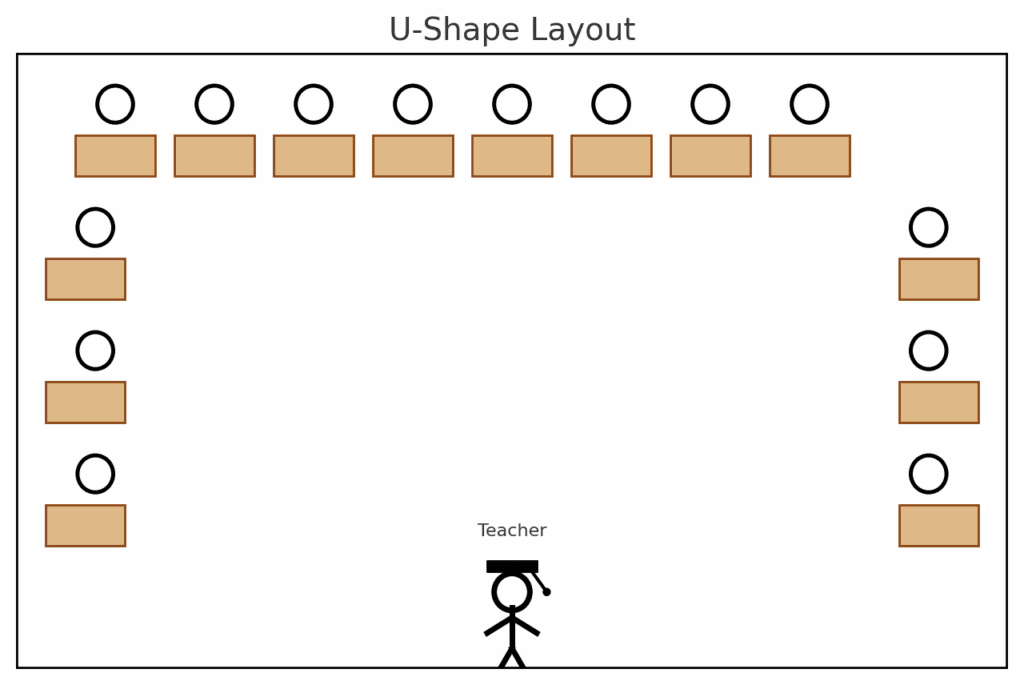
👩🏿🏫This is my favourite layout. It is great for classes of 8 -14 students. The U-shape is basically a talk show set layout. Everyone faces everyone with you (the host) at the open end. It’s brilliant for debates, presentations, or whole-class chats. The vibe is more “panel discussion” than “lecture hall,” which makes it friendly and less intimidating. As a bonus, there’s a perfect space in the middle for acting out role-plays or showing off that awkward “mime the verb” game.
Using the horseshoe layout, the teacher can quickly walk behind the students and monitor over their shoulders. This is especially effective for speaking exercises, as it is more discreet and allows students to avoid the teacher looming over them as they practice a conversation or dialogue. The teacher should leave enough room so they can freely walk behind the students rather than squeezing past.
4. Traditional Rows Layout
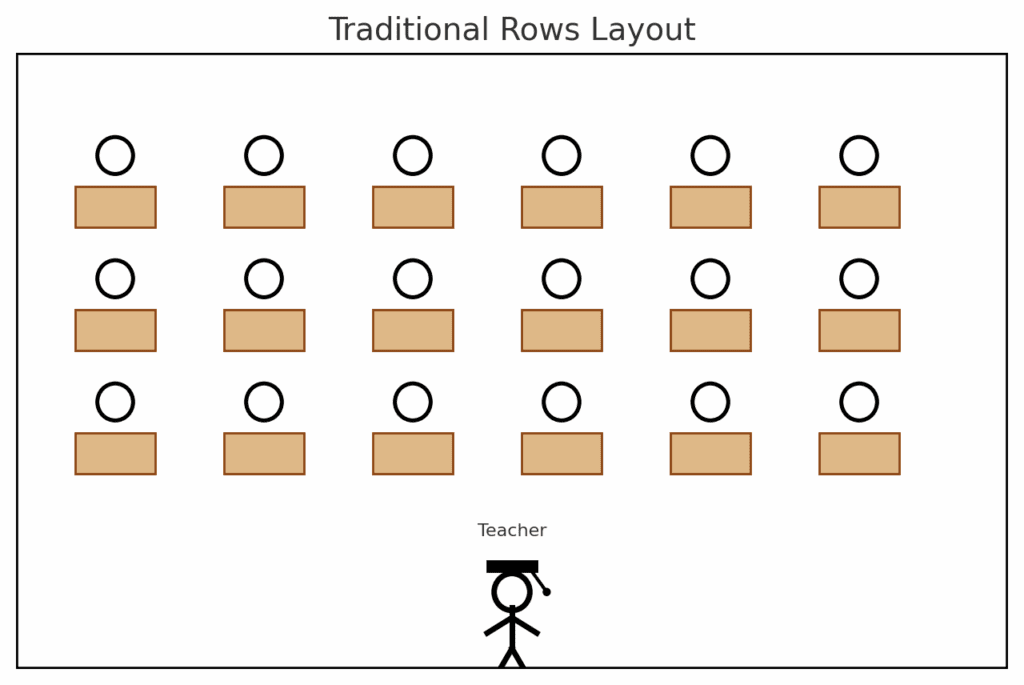
👩🏿🏫Ah, yes, the “classic cinema seating” arrangement. All eyes front, no distractions (in theory), and perfect for exams, writing tasks, or when you need a bit of order in the chaos. It’s also handy if you secretly like being on stage, center-front, channeling your inner rock star with a whiteboard marker instead of a guitar. Sure, it’s not the chattiest setup, but when focus matters, this is your go-to. Just remember to keep things lively, or you’ll lose them to the timeless art of doodling.
Final Thoughts
👩🏿🏫No one-size-fits-all layout exists in ESL classrooms. Vary your seating arrangements based on the activity, and don’t forget to position yourself so you can best support your learners.